- COMMERCIAL GARAGE DOOR REPAIR
- GARAGE DOOR OPENER INSTALLATION
- GARAGE DOOR SPRING REPAIR
- SAME-DAY GARAGE DOOR REPAIR
- CUSTOM GARAGE DOOR
- GARAGE DOOR OPENER REPAIR
- GARAGE DOOR TRACK REPAIR
- GARAGE DOOR CABLE REPAIR
- GARAGE DOOR PANEL REPAIR
- LOCAL GARAGE DOOR REPAIR
- GARAGE DOOR REPLACEMENT
- NOISY GARAGE DOOR FIX
- GARAGE DOOR INSTALLATION
- GARAGE DOOR SECTION REPLACEMENT
- OVERHEAD GARAGE DOOR REPAIR
- GATE REPAIR

Step-by-Step Guide to Repairing a Misaligned or Off-Track Garage Door
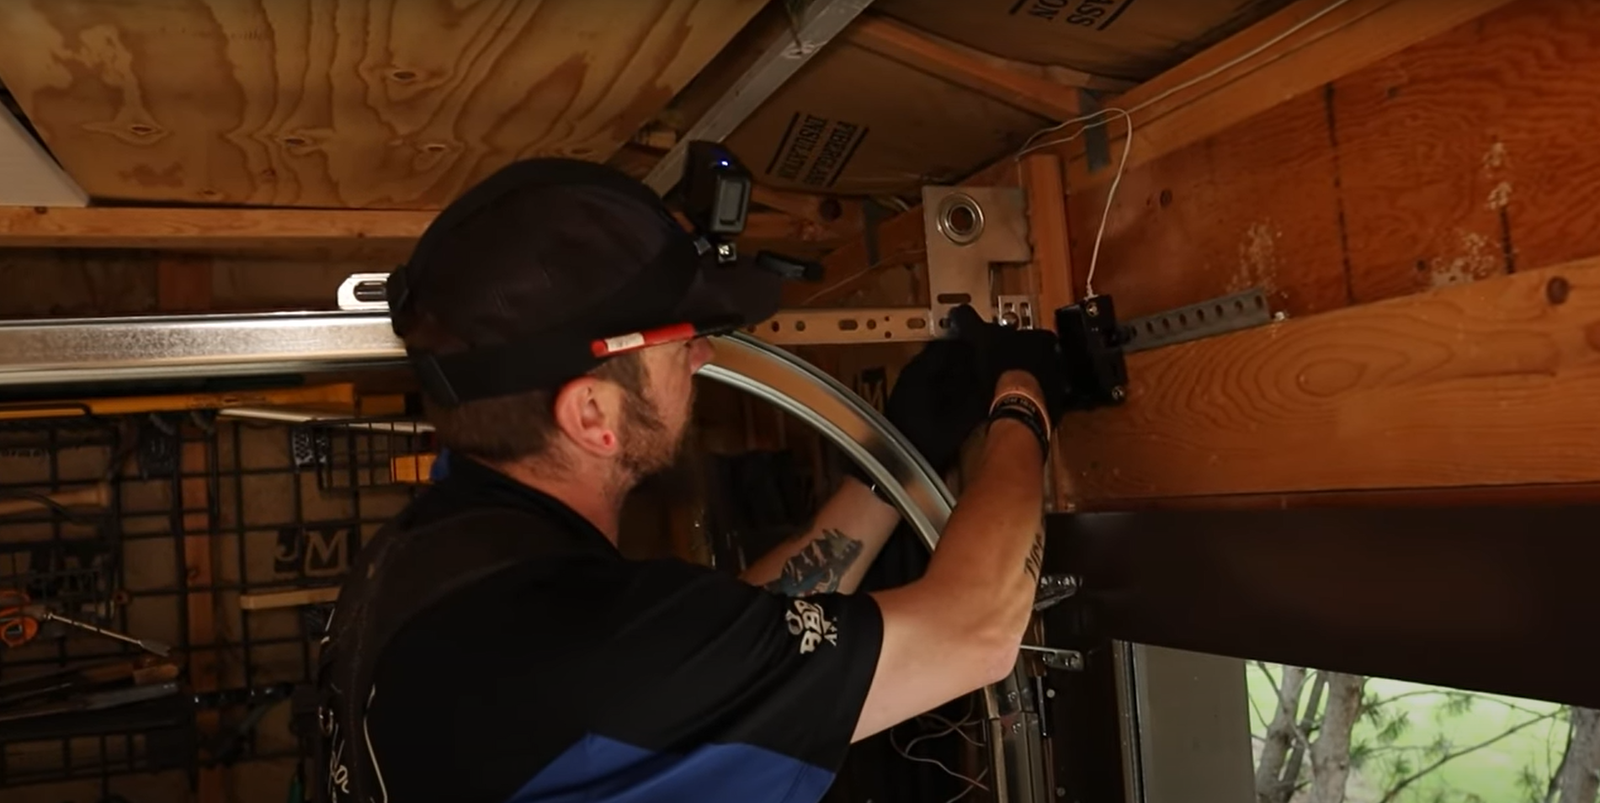
A garage door that’s misaligned or off-track can be more than just an inconvenience—it can be a safety hazard and a source of frustration. Fortunately, if you’re handy and have the right tools, you can tackle garage door track repair yourself. In this guide, we’ll show you how to get your door back on track in a few simple steps.
Why a Garage Door Goes Off Track
Before we jump into the repair process, it’s important to understand why garage doors go off track. Common causes include obstacles in the path of the door, worn-out rollers, or even a broken cable. Regular maintenance and inspection can help prevent these issues, but sometimes repairs are unavoidable.
Tools You’ll Need
Before starting your garage door track repair, gather these tools:
- A pair of pliers
- Adjustable wrench
- Rubber mallet
- Level
- Safety glasses and gloves for protection
Step-by-Step Guide to Repairing a Misaligned Garage Door
Step 1: Disconnect the Garage Door Opener
Safety first! Start by unplugging the garage door opener. This ensures there’s no accidental activation of the door while you’re working.
Step 2: Open the Door Manually
With the opener disconnected, manually lift the garage door. You may need an extra pair of hands to help keep the door steady as you begin your repair. Prop it securely open with a clamp or by inserting a 2×4 underneath.
Step 3: Identify the Problem Area
Check the tracks on both sides of the door for any obvious damage or obstructions. Use your level to ensure the tracks are vertically aligned. If they aren’t, use your rubber mallet to gently tap them back into a vertical position.
Step 4: Loosen the Track Bolts
Using your adjustable wrench, loosen—but don’t remove—the bolts that hold the tracks to the wall. This will allow you to gently move the tracks into proper alignment if needed.
Step 5: Adjust and Secure the Tracks
Carefully adjust the tracks so that they are perfectly aligned. Use your level to check for consistency. Once satisfied, tighten the bolts to secure the tracks in place.
Step 6: Test the Door
Once the tracks are secured, remove any clamps or supports from the door. Reconnect the garage door opener and test the door’s operation. Listen for any unusual sounds and watch the door as it runs to ensure everything is moving smoothly.
Final Checks and Maintenance Tips
After completing your garage door track repair, take a moment to conduct some basic maintenance to keep your garage door running smoothly:
- Lubricate all moving parts, including the rollers and tracks.
- Check for any loose hardware and tighten as necessary.
- Regularly inspect the tracks and rollers for signs of wear or damage.
Repairing a misaligned or off-track garage door doesn’t have to be a daunting task. With the right tools and this step-by-step guide, you can handle the repair confidently. However, if you encounter any major issues or feel uncomfortable performing any of the steps, it’s always best to consult a professional.
For expert assistance with garage door track repair, trust the professionals at Garage Door Repair Baltimore OH. Our experienced team is ready to help you keep your garage door in perfect working order!

